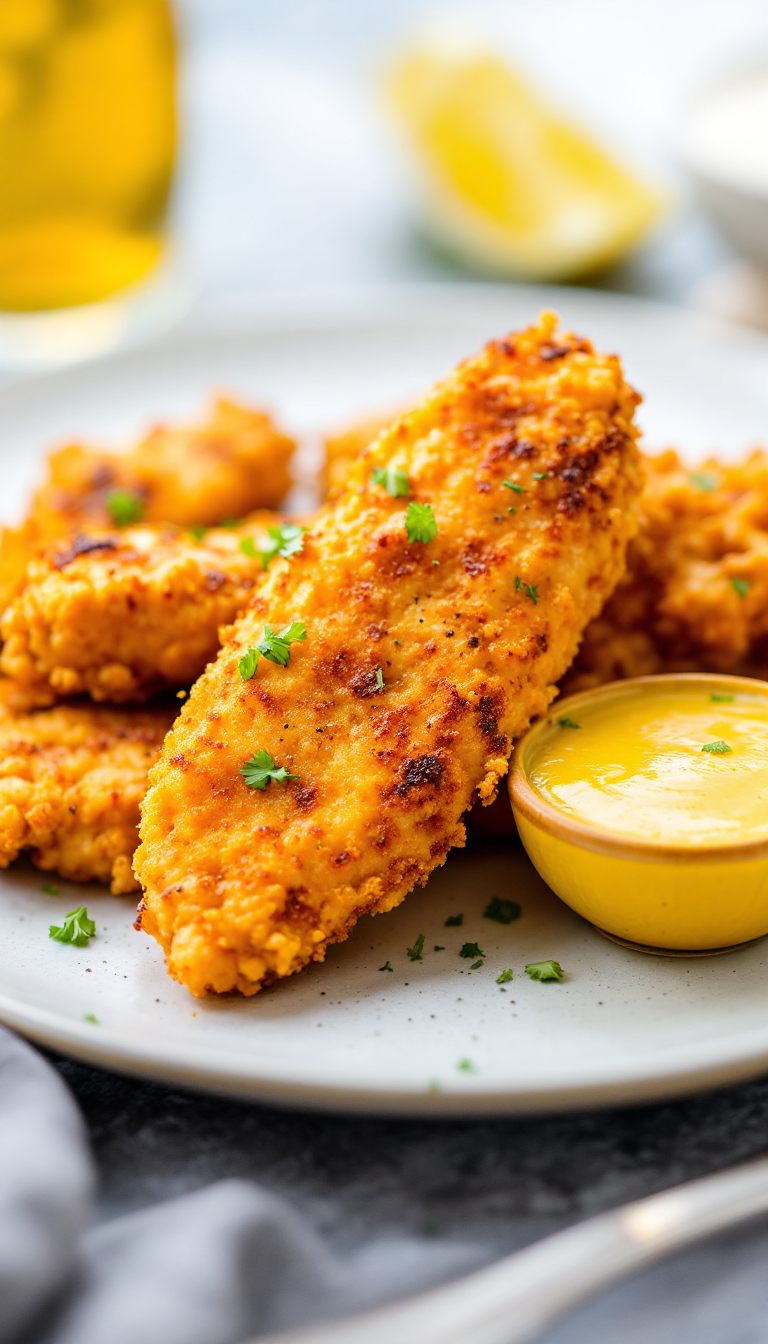
You know that feeling when you stumble upon a snack that’s just so unexpectedly delightful, it sticks with you? That’s exactly what happened the first time I tasted these crispy pickle-brined chicken tenders.
Imagine this: a lazy Sunday afternoon, the kind where you just want to curl up in your favorite corner with a good book or binge-watch that latest series everyone’s talking about.
Suddenly, the craving hits—something savory, with just the right amount of crunch. Enter these chicken tenders, an ode to those childhood memories of sneaking a pickle from the jar when you thought no one was looking.
The tanginess of the brine, combined with the delicate crunch of the breading, creates a snack that’s both comfortingly familiar and excitingly new. It’s like that unexpected plot twist in a movie you thought you had figured out.
And speaking of twists, have you noticed how the weather’s been all over the place lately? Just like these tenders, unpredictable yet exactly what you need right now.
So, whether you’re looking for a quick bite during the game or something to spice up your snack routine, these tenders are your go-to. Trust me, they’ll keep you coming back for more.
Steps
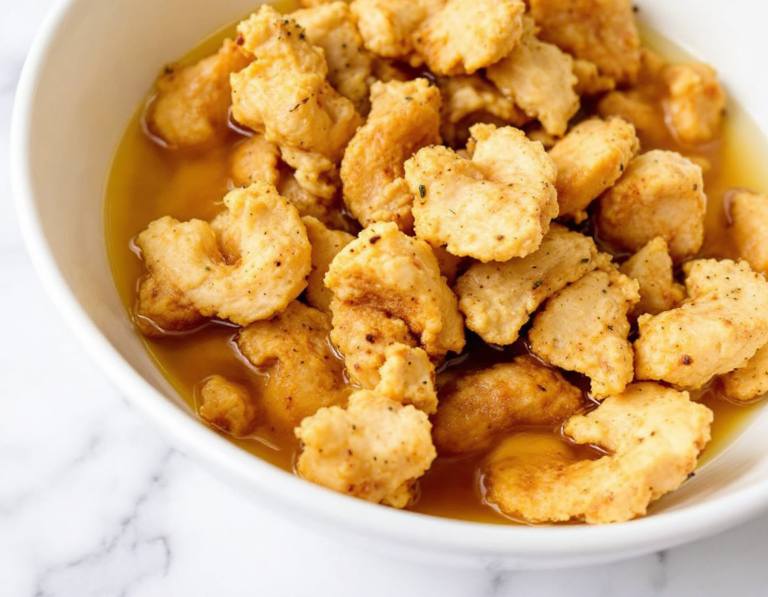
- Place the chicken strips in a shallow bowl and pour enough pickle juice to fully immerse them. Let them marinate in the refrigerator for 8 hours.
- After marinating, drain the chicken and pat it dry with paper towels. Discard the used pickle juice.
- Preheat your oven to 425°F and coat a large baking sheet with cooking spray.
- In a medium bowl, mix the beaten egg, egg white, salt, and pepper. In another shallow bowl, combine the seasoned breadcrumbs and panko.
- Dip each chicken strip first into the egg mixture, then coat it with the breadcrumb mixture. Shake off any excess coating.
- Arrange the breaded chicken strips on the prepared baking sheet and spray the tops generously with cooking spray.
- Bake the chicken in the lower third of the oven for 8 to 10 minutes until the bottoms are golden brown. Flip them over and bake for another 6 minutes until fully golden.
- For air fryer cooking, preheat to 400°F. Spray the chicken on both sides with oil and cook in single-layer batches for 5 to 6 minutes on each side.
Ingredients
- 12 chicken tenders (approximately 1 1/4 lbs) or skinless chicken breasts cut into strips
- 1 1/4 cups dill pickle juice (enough to cover the chicken completely)
- 1/2 teaspoon kosher salt
- Black pepper, to taste
- 1 large egg, beaten
- 1 large egg white
- 1/2 cup seasoned breadcrumbs
- 1/2 cup seasoned panko
- Cooking spray
Nutritional Values
Calories: 976 kcal | Carbohydrates: 40 g | Protein: 148 g | Fat: 24 g | Saturated Fat: 4 g | Cholesterol: 600 mg | Sodium: 1688 mg | Fiber: 4 g | Sugar: 4 g
FAQ
- What is the purpose of using pickle juice in this recipe?
- Pickle juice is used to marinate the chicken, adding juiciness and a unique flavor. The acidity and spices in the juice help tenderize the meat and impart a tangy taste.
- How long should the chicken be marinated in pickle juice?
- The chicken should be marinated in pickle juice for 8 hours to achieve the best flavor and tenderness.
- Can this recipe be made using an air fryer instead of an oven?
- Yes, you can use an air fryer. Preheat it to 400°F and cook the chicken in single layers for 5 to 6 minutes on each side.
- What should I do with the pickle juice after marinating the chicken?
- After marinating, the pickle juice should be discarded. It’s important to ensure the chicken is thoroughly dried on paper towels before proceeding with the recipe.
- Is it necessary to use both breadcrumbs and panko for the coating?
- Using both breadcrumbs and panko provides a balanced texture, offering a crispy exterior while ensuring the coating adheres well to the chicken.
Tips
- Ensure the chicken is fully submerged in pickle juice during marination for the best flavor infusion, and let it sit for the full 8 hours in the fridge.
- After marinating, thoroughly pat the chicken dry with paper towels to help the breading adhere better and achieve a crispier texture.
- When baking, place the chicken in the lower third of the oven to ensure even cooking and a golden crust on the tenders.
- For a healthier option, use an air fryer instead of baking. Remember to cook the tenders in a single layer to ensure they crisp up evenly.
Equipment
- Brined Baked Chicken Tenders, here is a list of main equipment you might not typically have at home and may need to consider purchasing:
- Air fryer
- Baking sheet (if not already owned)
