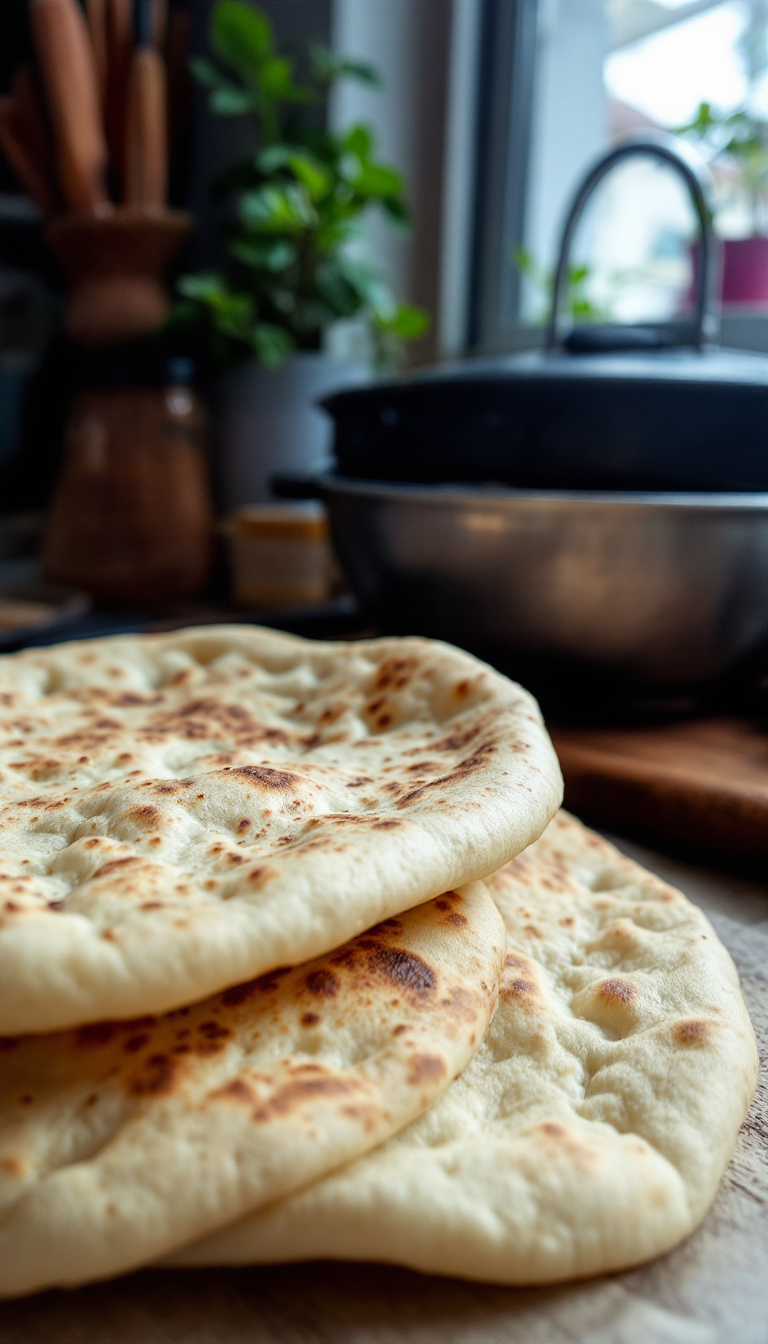
Who knew making pita bread at home could be this satisfying? Trust me, the aroma wafting through your kitchen as these fluffy, golden rounds puff up in the oven is nothing short of magical. Plus, it’s like having a little piece of the Mediterranean right on your plate—no plane ticket required!
Steps
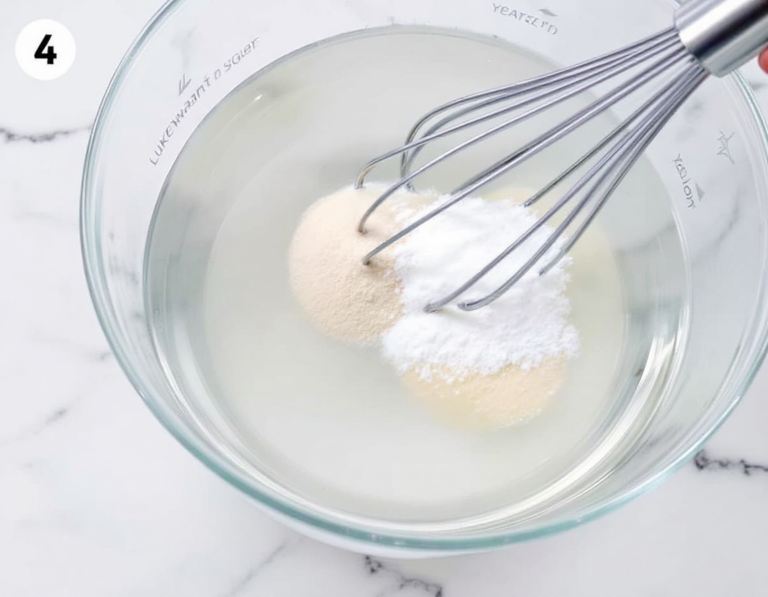
- Prepare the Sponge: Mix lukewarm water with yeast and sugar in a large bowl until dissolved. Add some flour, whisk, and leave uncovered in a warm area for 15 minutes until it becomes frothy.
- Create the Dough: Add salt, olive oil, and the remaining flour (reserve some for later) to the sponge. Stir until you have a sticky dough and lightly flour it. Knead briefly inside the bowl to integrate loose bits.
- Knead the Dough: Lightly flour a clean surface and knead the dough for about 2 minutes until smooth. Let it rest covered for 10 minutes before kneading again for a couple more minutes.
- Allow the Dough to Rise: Lightly oil a clean bowl, place the dough in it, and turn it to coat with oil. Cover tightly with plastic wrap and a towel, then let it rise in a warm spot for about an hour until it doubles in size.
- Divide the Dough: Gently deflate the dough on a clean surface and divide it into 7 or 8 equal parts. Shape each piece into a ball, cover with a towel, and let them rest for about 10 minutes.
- Shape the Pitas: Roll each dough ball into a circle about 8-9 inches wide and a quarter-inch thick on a floured surface. Frequently lift and turn to prevent sticking, resting the dough if it springs back.
- Cook the Pitas: For oven baking, preheat to 475°F with a baking pan inside. Cook pitas for 2 minutes on one side and 1 minute on the other. For stovetop, heat a skillet, cook each pita for 30 seconds, then flip and cook for another 1-2 minutes until puffed. Keep cooked pitas covered with a towel.
Ingredients
- 1 cup lukewarm water
- 2 teaspoons active dry yeast
- 1/2 teaspoon sugar
- 3 cups all-purpose flour (or a mix of 1 1/2 cups all-purpose flour and 1 1/2 cups whole wheat flour), with 1/2 cup reserved for dusting
- 1 to 2 teaspoons kosher salt
- 2 tablespoons extra virgin olive oil, plus additional for coating the bowl
Nutritional Values
Calories: 1200 kcal | Carbohydrates: 228 g | Protein: 36 g | Fat: 28 g | Saturated Fat: 4 g | Cholesterol: 0 mg | Sodium: 2400 mg | Potassium: N/A | Fiber: 12 g | Sugar: 3 g | Vitamin A: N/A | Vitamin C: N/A | Calcium: 60 mg | Iron: 15 mg
FAQ
- Can I prepare the pita dough in advance?
- Yes, the pita dough can be prepared ahead of time. Once it has risen, you can store it in the refrigerator until needed. If you don’t want to bake all the pitas at once, you can keep the remaining dough in the fridge for up to a week.
- Is it possible to make gluten-free pita bread with this recipe?
- Absolutely! You can substitute the all-purpose flour with the same quantity of a gluten-free flour blend. Brands like Bob’s Red Mill offer suitable gluten-free options for this purpose.
- Why doesn’t my pita bread puff up?
- If your pita doesn’t puff up, it might be due to insufficient heat from the oven or skillet. Ensure both are properly preheated before cooking to help the pita form the desired pocket.
- How should I store and freeze pita bread?
- Pita bread is best enjoyed fresh from the oven, but it can be stored for a few days in an airtight bag. To freeze, let the pitas cool completely, then store them in zip-top bags, using wax paper to separate them. They can be frozen for up to three months and warmed in a medium-heated oven straight from the freezer.
- Do I need a stand mixer to make this pita bread?
- No, a stand mixer is not necessary. Kneading the dough by hand often yields great results and doesn’t require much effort. You’ll only need basic equipment like a mixing bowl, wooden spoon, and a rolling pin.
Tips
- Ensure your oven or skillet is adequately preheated before cooking the pita. A high temperature is crucial for achieving the perfect puffiness, allowing the bread to form a pocket.
- If your pita doesn’t puff up on the stovetop, gently press the surface with a clean towel. This can help encourage the bread to form a pocket.
- For added convenience, prepare the dough in advance and store it in the refrigerator. It can be kept for up to a week, allowing you to bake fresh pita as needed.
- To prevent sticking when rolling out the dough, regularly lift and turn it, sprinkling a small amount of flour as needed. This will make it easier to handle and help maintain the desired shape.
Equipment
- Large Mixing Bowl – Essential for mixing and letting the dough rise.
- Rolling Pin – Necessary for rolling out the dough into pitas.
- Cast Iron Skillet – Useful for cooking the pita on the stovetop.
- Heavy-duty Baking Pan – Needed if you choose to bake the pita in the oven.
- Tongs – Helpful for flipping the pita during cooking.
