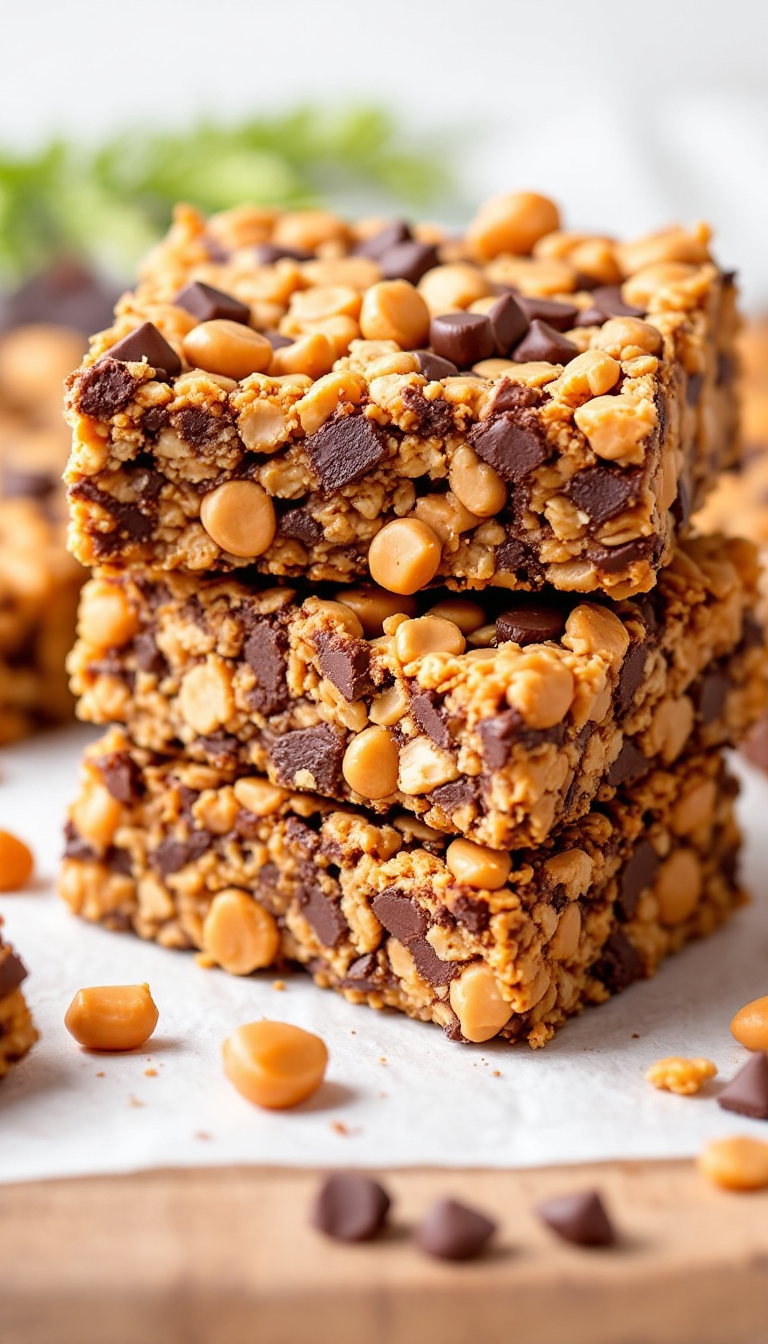
Oh, peanut butter! Just the thought of it brings back memories of sticky fingers and kitchen adventures. These no-bake granola bars are like a hug in food form—packed with wholesome goodness and the comforting taste of childhood favorites. Perfect for when you’re binge-watching the latest Netflix hit or just need a quick snack while doomscrolling through the latest headlines.
Steps
- Prepare a 9×9-inch baking dish by lining it with parchment paper, ensuring the paper hangs over the edges for easy lifting later. Lightly coat the parchment with cooking spray.
- In a medium saucepan, combine honey, butter, and brown sugar. Heat over medium, stirring occasionally, until the butter melts and the sugar dissolves. Allow the mixture to bubble gently for about a minute.
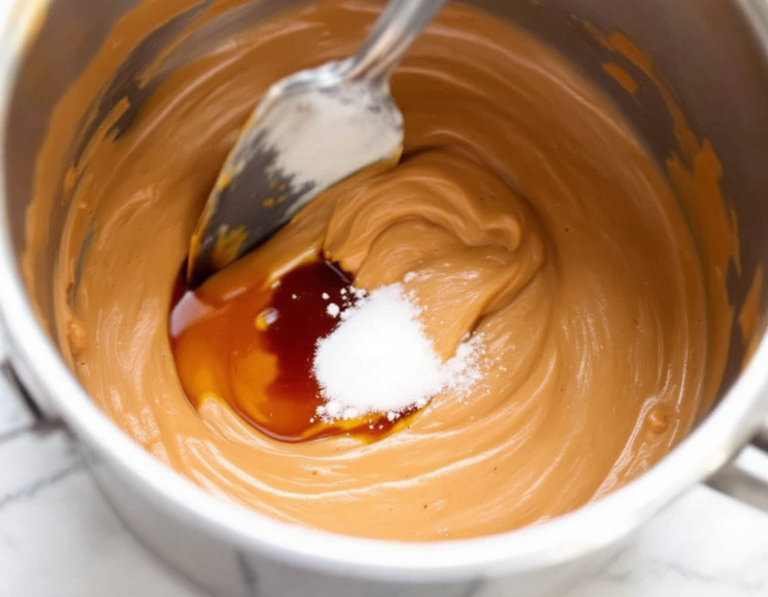
- Remove the saucepan from the heat and mix in the vanilla extract, salt, and peanut butter until smooth and well combined.
- Add oats and peanuts into the saucepan, stirring until everything is evenly coated and no dry oats remain.
- Transfer the mixture into the prepared baking dish. Using a rubber spatula or a greased measuring cup, press the mixture down firmly to ensure it sticks together well.
- Allow the mixture to cool for about 10 minutes, then sprinkle mini chocolate chips on top. Press the chocolate chips into the mixture to help them adhere.
- Refrigerate the mixture for at least 2 hours to set. Once firm, use the parchment paper edges to lift the set mixture out of the pan and onto a cutting board. Cut into bars of your preferred size and enjoy.
Ingredients
- 1/2 cup honey
- 1/4 cup butter
- 1/4 cup brown sugar
- 1 teaspoon vanilla extract
- 1/4 teaspoon salt
- 1/2 cup peanut butter
- 2 1/2 cups oats
- 1/2 cup peanuts
- 1/3 cup mini chocolate chips
FAQ
- How long can I store these granola bars?
- Once cut, keep the granola bars in an airtight container with parchment paper between layers to prevent sticking. They will last up to 7 days when stored in the refrigerator.
- Is it possible to freeze the granola bars?
- Yes, these bars freeze effectively and can be stored for up to 3 months. First, freeze them on a baking sheet until solid, then transfer them to a freezer bag or container. Allow them to thaw at room temperature for about an hour before consuming.
- Can these granola bars be made vegan?
- Absolutely! Substitute honey with maple syrup and replace the butter with a plant-based alternative or coconut oil. Ensure to use gluten-free certified oats if necessary.
- What can I use as substitutes in this recipe?
- For variations, you can use coconut oil instead of butter, maple syrup instead of honey, and any nut or sunflower butter in place of peanut butter.
- Why is cooling important in this recipe?
- Cooling allows the ingredients to bind together properly, making it easier to cut the bars without them falling apart. It also hardens the butter, ensuring everything sticks well.
Tips
- Use a Smaller Baking Pan for Thicker Bars: If you prefer thicker granola bars, consider using an 8×8-inch pan instead of a 9×9-inch one. This will result in a more substantial bar, perfect for those who enjoy a heartier snack.
- Firmly Press the Mixture: When transferring the granola mixture into the baking pan, use a rubber spatula or the back of a greased measuring cup to press it down firmly. This ensures the bars stick together well and don’t crumble when cut.
- Don’t Rush the Cooling Process: Allow the bars to cool completely before cutting them. This cooling period is crucial as it helps the ingredients set and makes slicing easier.
- Use Parchment Paper for Storage: To prevent the bars from sticking together, wrap them individually in parchment paper or layer parchment paper between bars when storing. This not only keeps them separate but also makes them easy to grab and go.
Equipment
- 9×9-inch Baking Dish – If a 9×9 pan isn’t already in your kitchen, you might consider purchasing one.
- Parchment Paper – Essential for lining the baking dish to prevent sticking and for easy removal of bars.
- Rubber Spatula – Helpful for pressing down the granola mixture firmly into the pan.
- Measuring Cups – Useful for measuring ingredients and pressing chocolate chips into the bars.
